
Playing the same game all the time is bound to make things tedious. That’s how it is with every game. Mods come to the rescue if you get tired of seeing the same things in the game but still want to play it. Mods can tweak small things or flip the game upside down. Stardew Valley is one of the games that have a great modding community and if you are a Stardew Valley player you might as well check it out. But first, you need to know how to install Stardew Valley mods.
The mod installation process is split into three parts: installing SMAPI, necessary framework mods, and the mod itself. If you are new to Stardew Valley modding make sure to read through all the steps carefully. This is a guide to mod installation on Windows, PC. If you want to install mods on other platforms there is a handy manual for you too.
Installing SMAPI
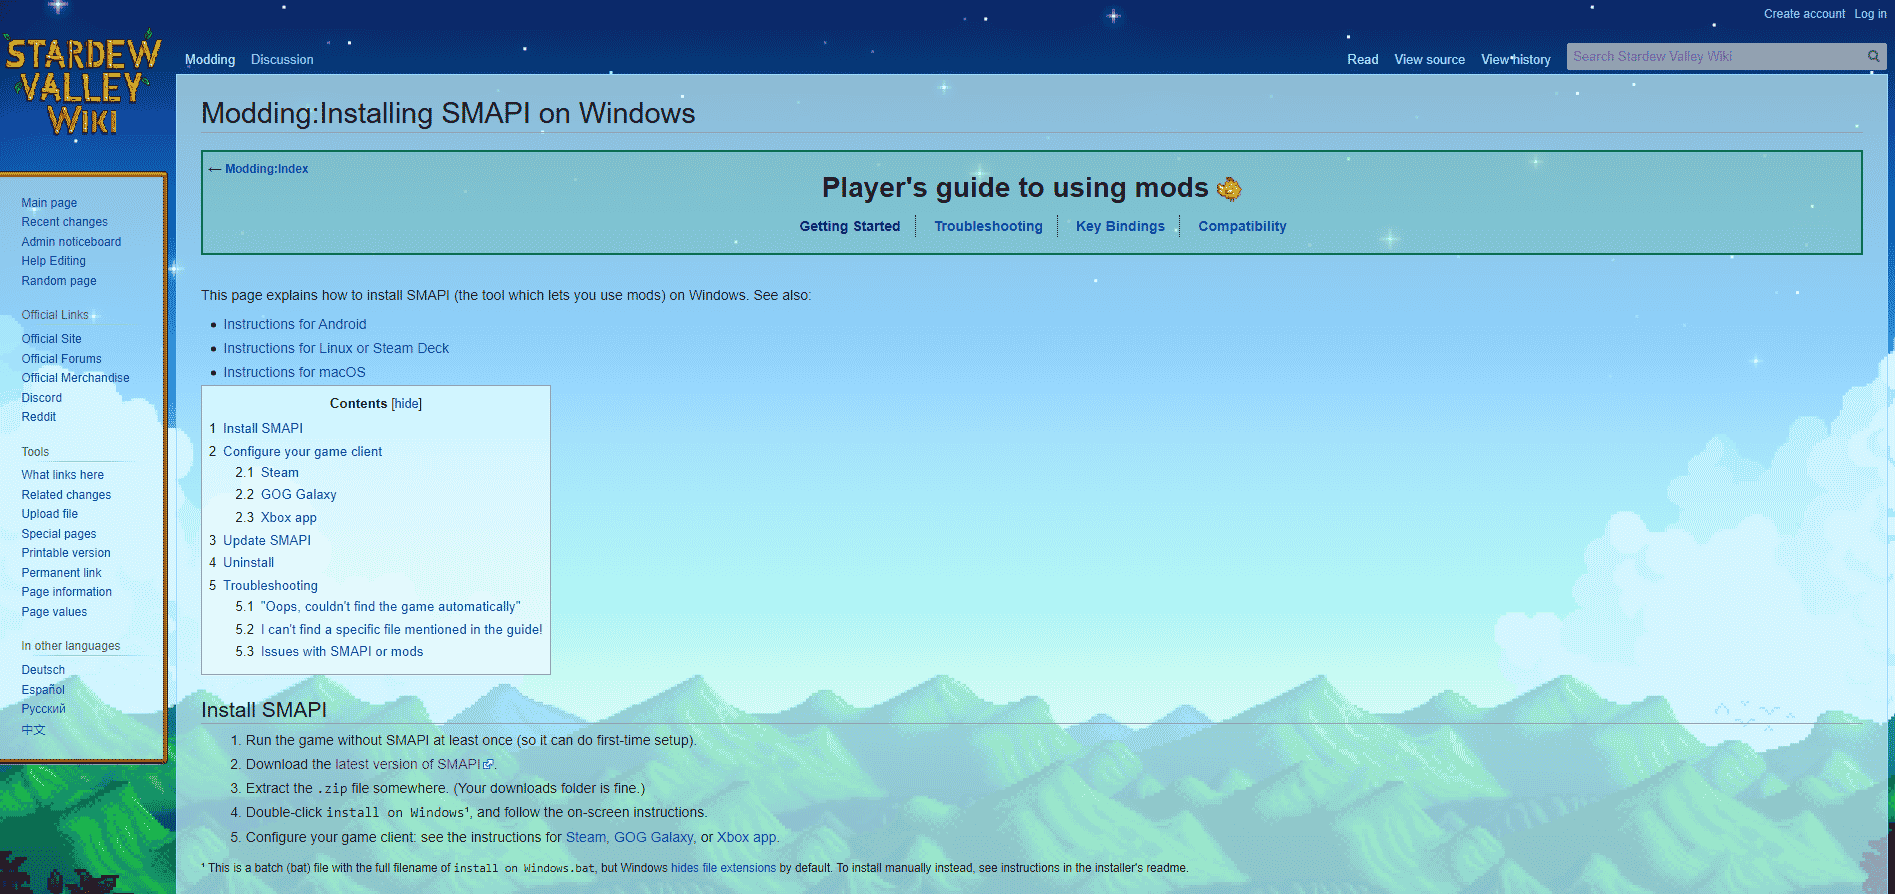
First of all, you will need SMAPI Stardew Modding API. Look at it like Forge in Minecraft. It’s a necessary library for any mod to work. To install SMAPI for your Stardew Valley follow these steps:
- Run the game without SMAPI at least once (so it can do the first-time setup).
- Download the latest version of SMAPI.
- Extract the .zip file somewhere. (Your downloads folder is fine.)
- Double-click install on Windows.bat and follow the on-screen instructions.
Now you can launch StardewModdingAPI.exe from your game folder to play with any mods you have. That is if you don’t use or don’t want to use Steam. However, if you’re going to play through Steam and sync all your playtime and achievements do the following:
- From the SMAPI installer copy the following line: “D:\SteamLibrary\steamapps\common\Stardew Valley\StardewModdingAPI.exe” %command% (yours may look different depending on your installation path).
- In Steam right-click on Stardew Valley and choose Properties
- Paste the line to the Launch Options textbox
Now you can launch the game through Steam and it will load with all your mods while syncing playtime, achievements, and Steam overlay. It will launch a quick cmd prompt before the actual game so if you see it, that means everything works. If you want to uninstall SMAPI, relaunch the installer and choose the Uninstall option when going through the installation process.
Installing Framework Mods
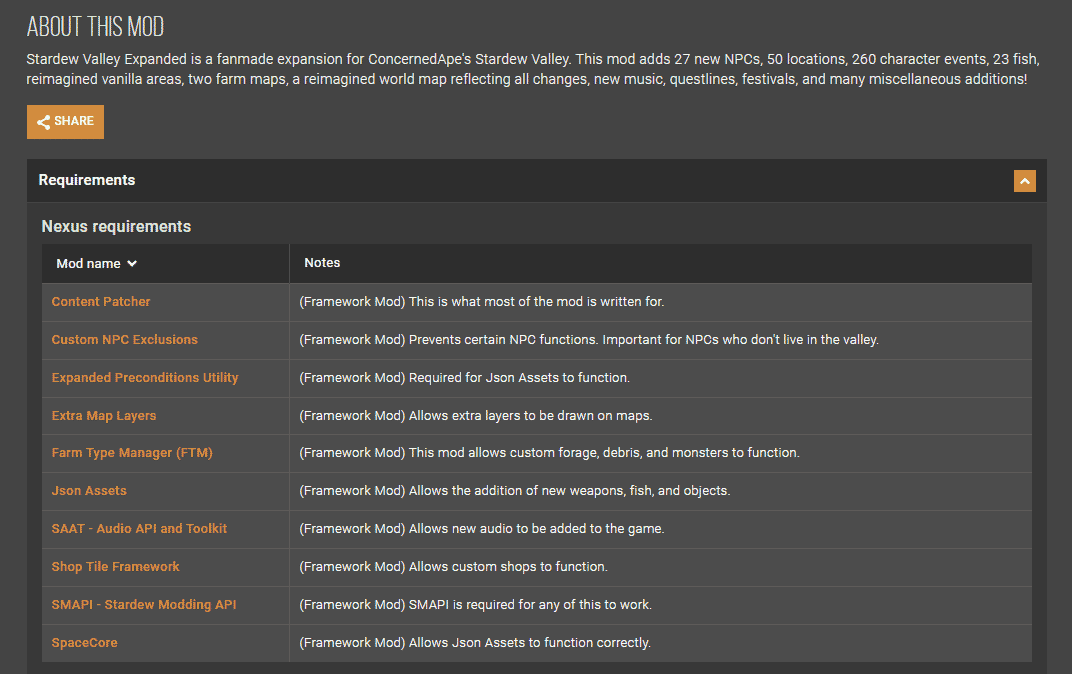
After installing the SMAPI you will need to install any framework mods your mod requires. Framework mods are bases that allow further modification of the game. Look at them like at core mods in Minecraft. For example, the Treecapitator mod requires a bspkrsCore mod installed in order to work. It’s the same story here. You can find all the required mods in the Nexus Requirements list in the Requirements drop-down if you are downloading mods from nexusmods.com. On other websites look for “Requirements” or “Required Mods”.
To install the framework mod for Stardew Valley:
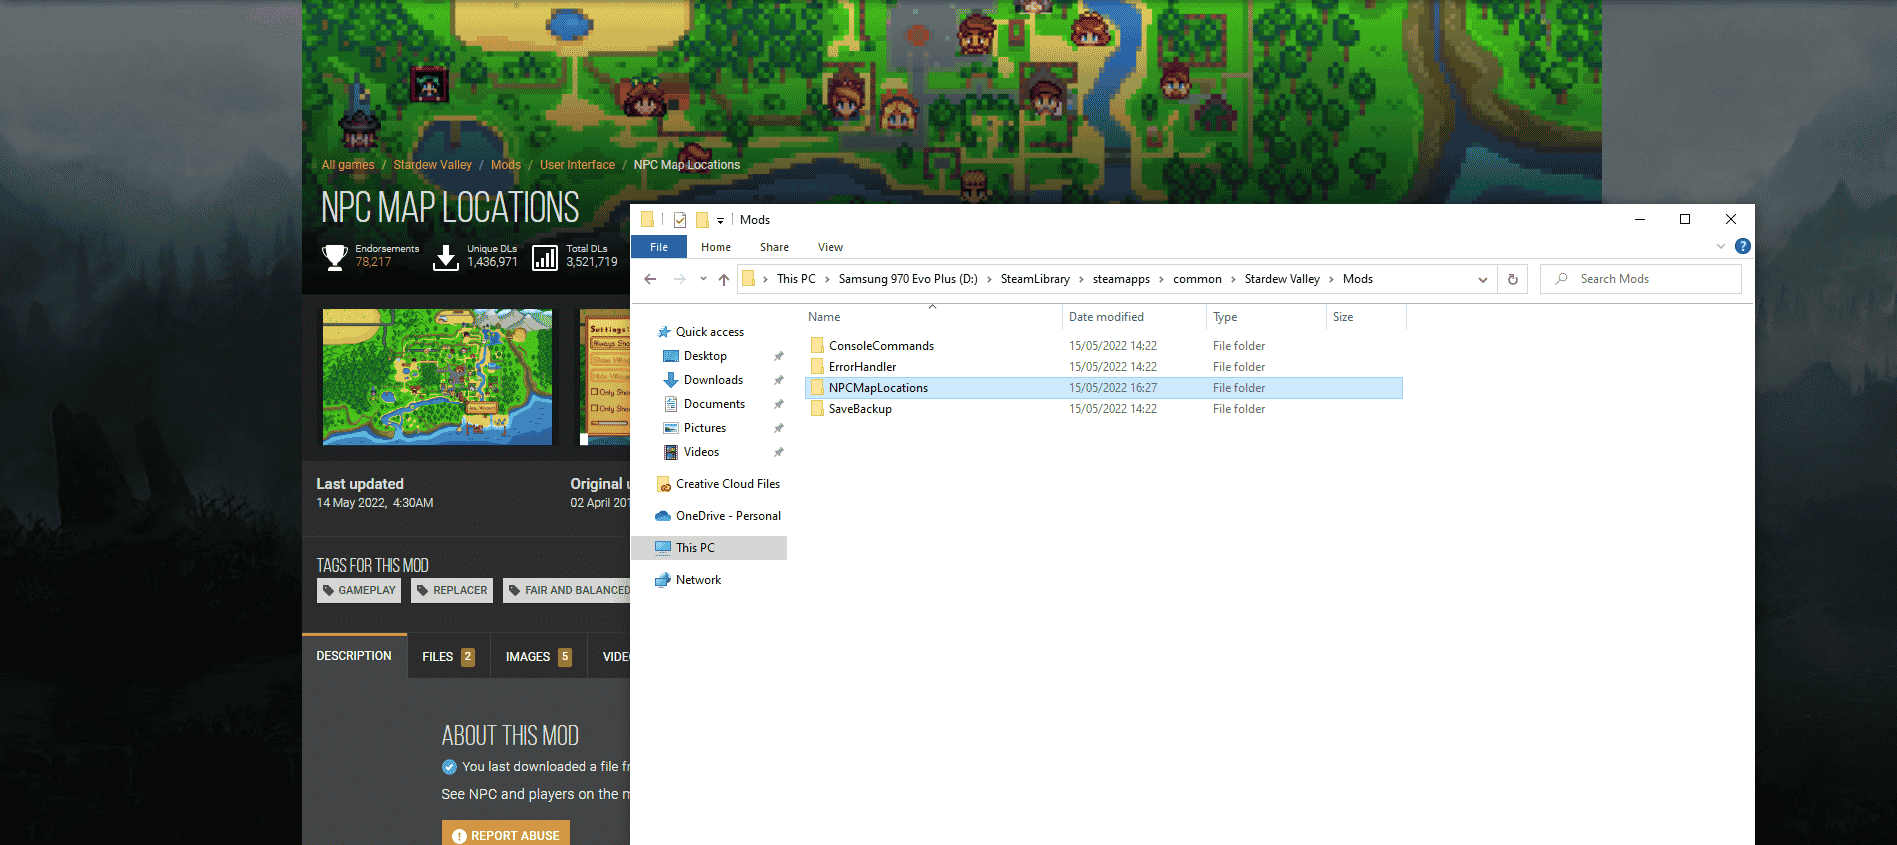
- Download mod’s .zip file
- Extract the files to Stardew Valley/Mods
- Run the game using SAMPI
After this is done you can proceed to install the mod itself.
Adding Mods
Now that you have everything your mod needs to function you can install the mod itself too. The instructions are the same as they are for the framework mods as both are pretty much the same in terms of how they work.
To install a Stardew Valley mod:
- Make sure you have SAMPI and necessary framework mods installed
- Download mod’s .zip file
- Extract the files to Stardew Valley/Mods
- Run the game using SAMPI
Mods can be quite different and there is always a manual or guide either in the mod’s files or on the mod’s page. Make sure to refer to them in case something goes wrong or becomes confusing as the solutions can depend on the mod. You can also look at comments or related posts to the mod if you are looking for something specific. Other than that, you are all set to install mods on Stardew Valley.