Wrathborn Hunts, the brand new seasonal activity in Destiny 2 launched yesterday and there’s a lot to unpack with them….also this article contains **spoilers**
Trail of the Hunted
Before you even begin unlocking Wrathborn Hunts, you’re gonna need to complete a mission on the moon.
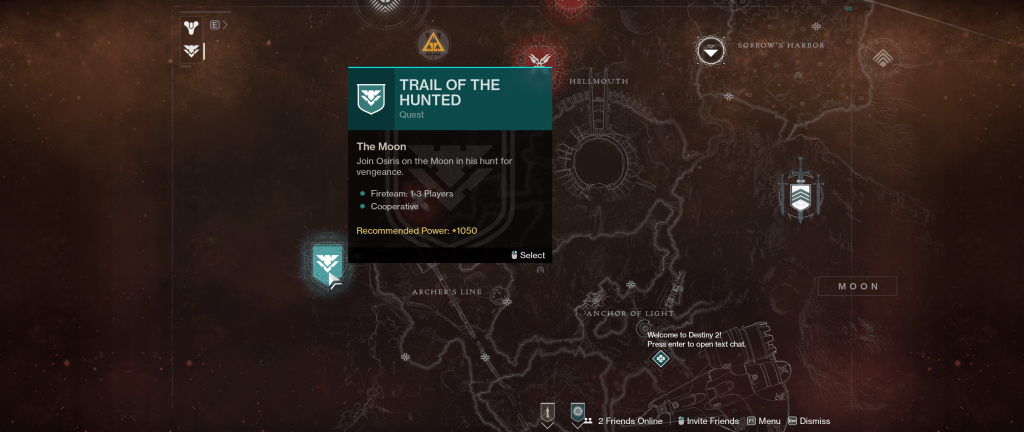
Osiris is in trouble on the Moon since his Ghost, Sagira, has been slain by the Hive Celebrant of Xivu Arath. The Guardian is sent to aid Osiris and rescue him from certain doom. As you approach Osiris’ location, you come across the Hive Knight that killed Sagira.
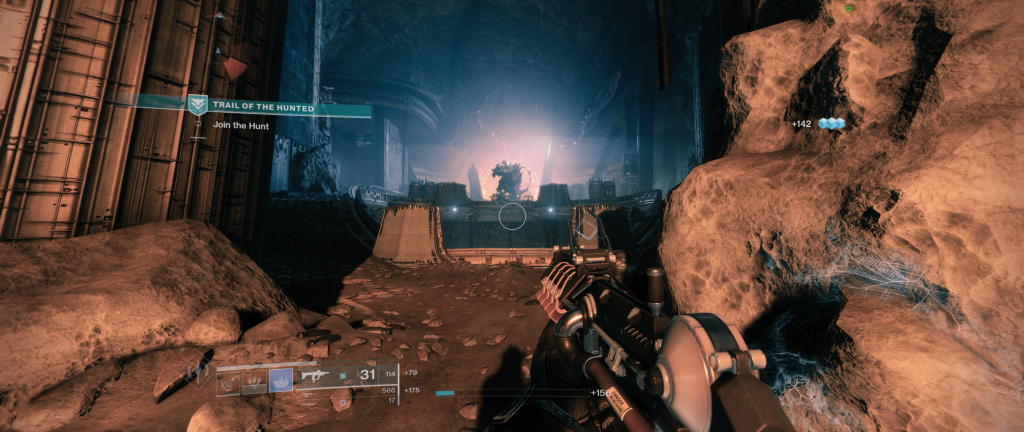
The Knight vanishes to allow you to clear out a room full of Hive and continue onto the next few rooms in which you chase the Knight until you reach a Hive Ascendant portal.

Going through the portal will lead you into the Shrine of Oryx.
Related: Ranking Every Destiny Expansion From Worst to Best

Here you follow the Knight to another portal, but it disappears leaving the Guardian in the middle of an ambush of Hive. Clearing out a few of these Hive will trigger another portal to open, going through this portal triggers a cutscene in which we find Osiris.

Osiris is quickly attacked by another Knight and about to be killed when the knight is pierced with a sword from behind, revealing the Crow and his Ghost, Glint.

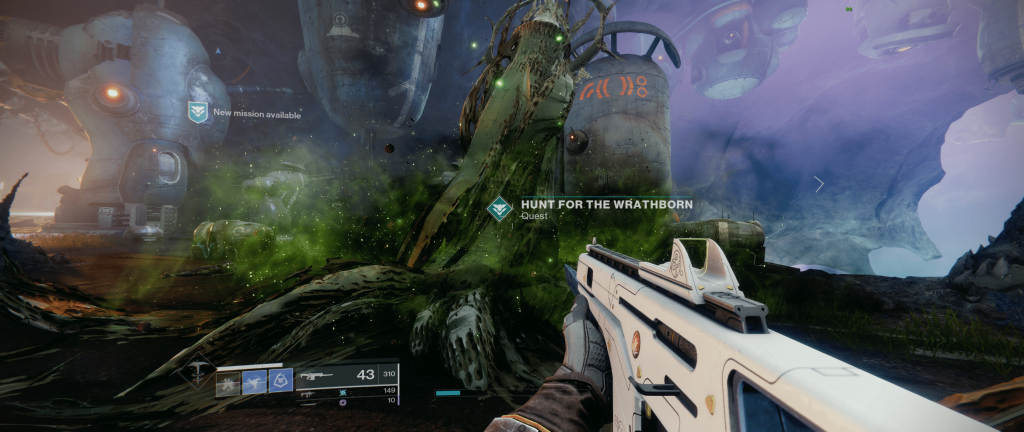
The mission ends and we return to Spider with Crow, after some dialogue revealing that Spider has put a bomb inside Glint to keep Crow loyal to Spider (akin to Suicide Squad). Spider then sends us to go see Crow thus unlocking the ability to participate in Wrathborn Hunts.
Unlocking the Lure

As you approach The Crow, he will offer a quest to acquire a lure he has fashioned from old Hive artifacts found in Spider’s Safehouse.

The Lure is located on the left of The Crow, hold your interact button to pick it up.

In order to start your Wrathborn Hunts, you will need to charge the Lure. You can do this by completing objectives such as defeating challenging combatants, or defeating combatants with precision damage in Strikes, Crucible, and Gambit. Lure Charge is also obtained by completing these activities (if I get lots of precision kills, I can typically get a full charge from a single Strike). You can hold up to 3 charges on your Lure.
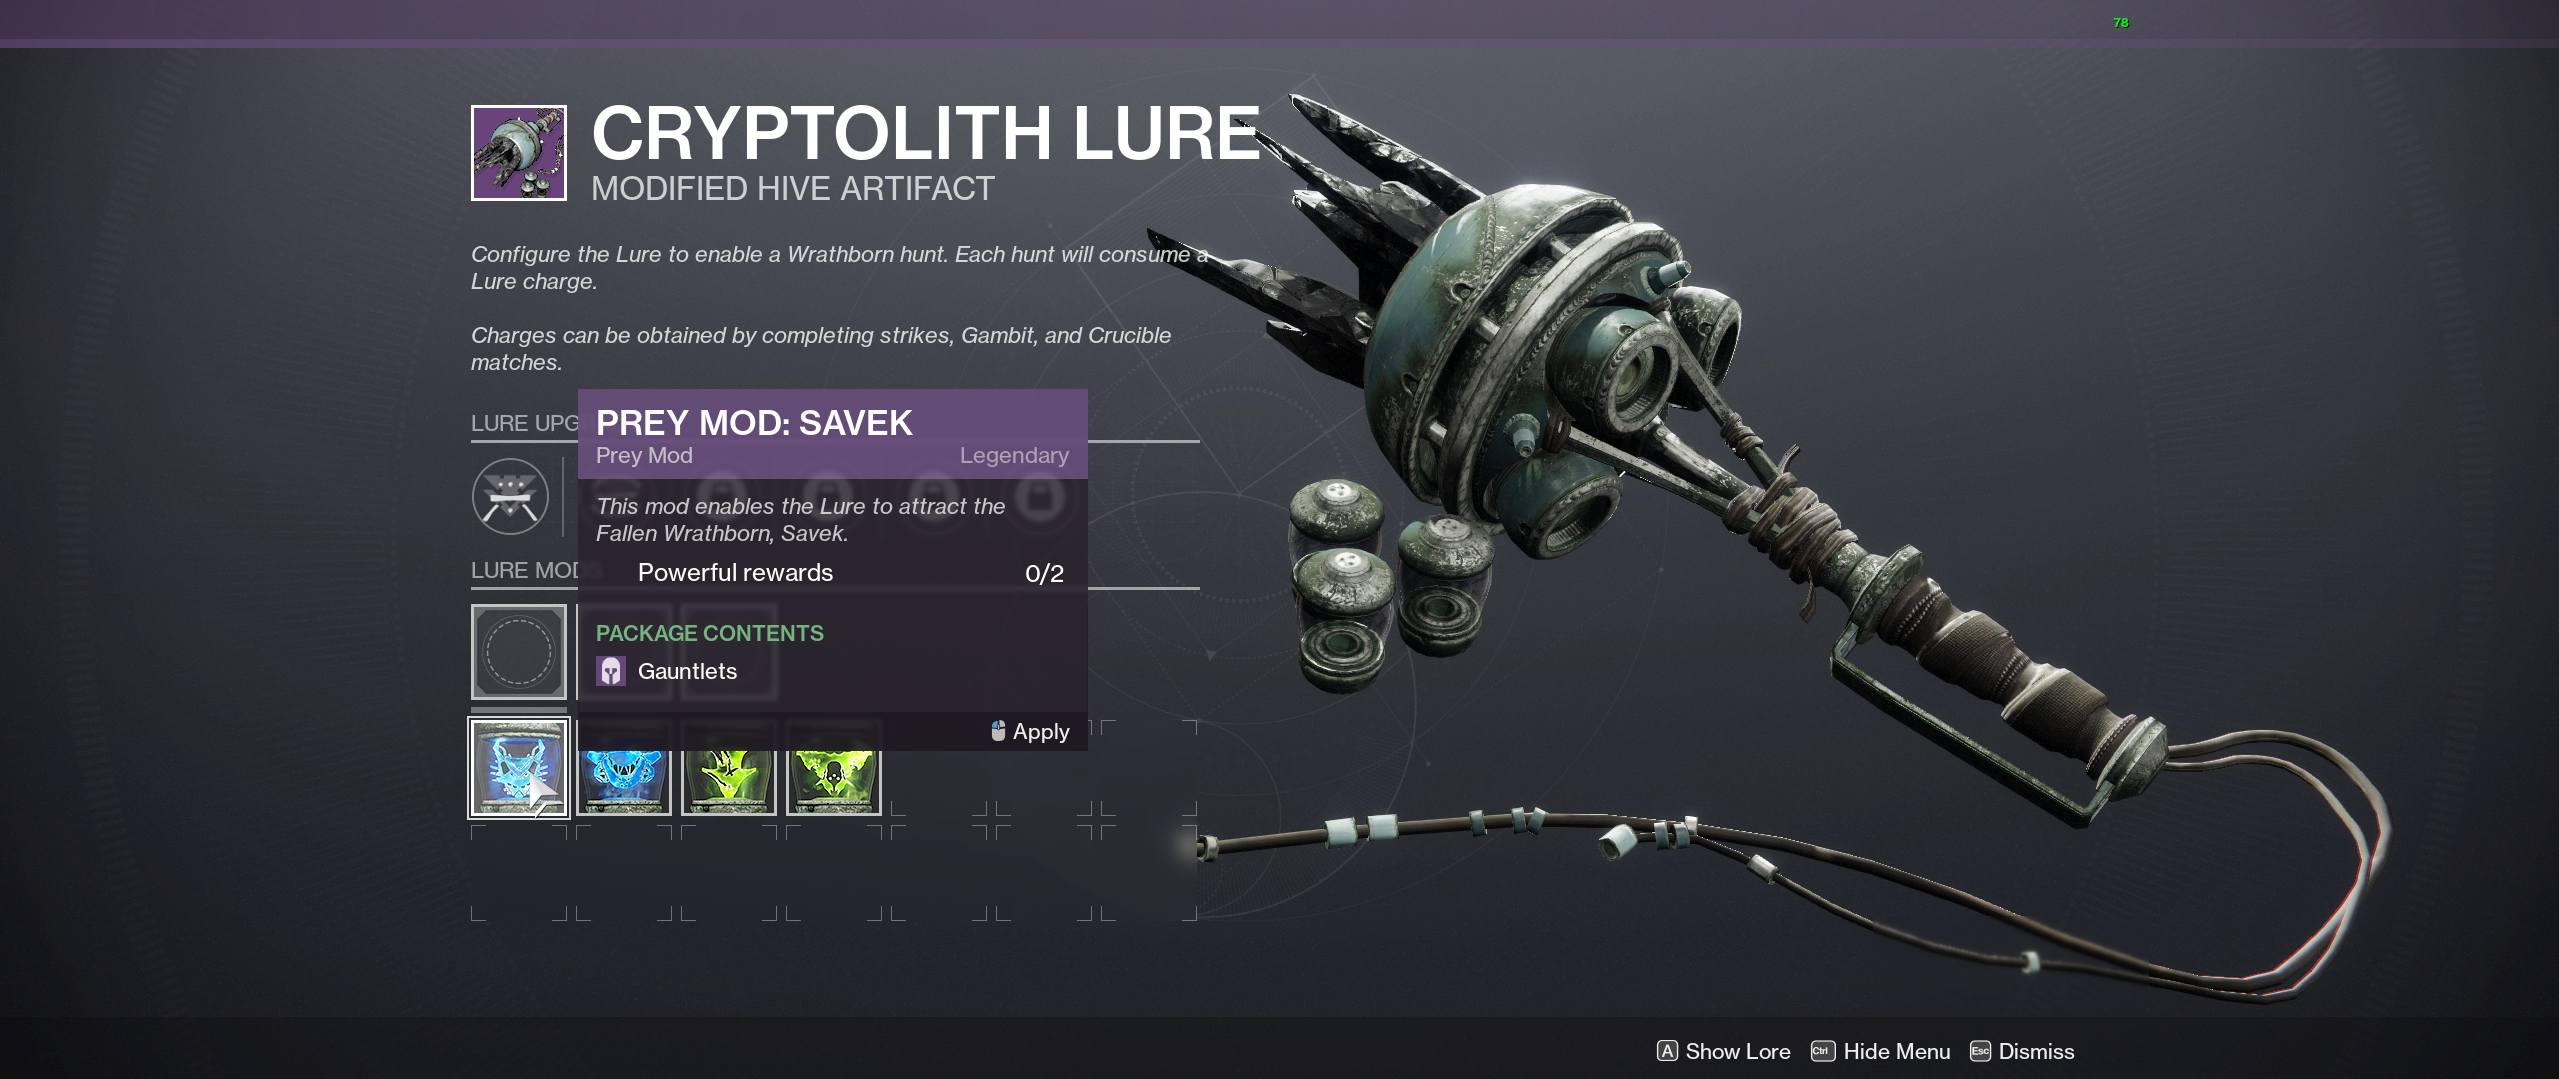
Using the Cryptolith Lure
In order to use the Lure, you must slot in a Prey Mod as well as 2 Trophy Mods. The Prey Mod allows you to choose which Wrathborn you will be hunting, the Trophy Mods act similarly to the Menagerie Chalice and the Umbral Decoder from Season of Arrivals, giving you the ability to focus your loot.
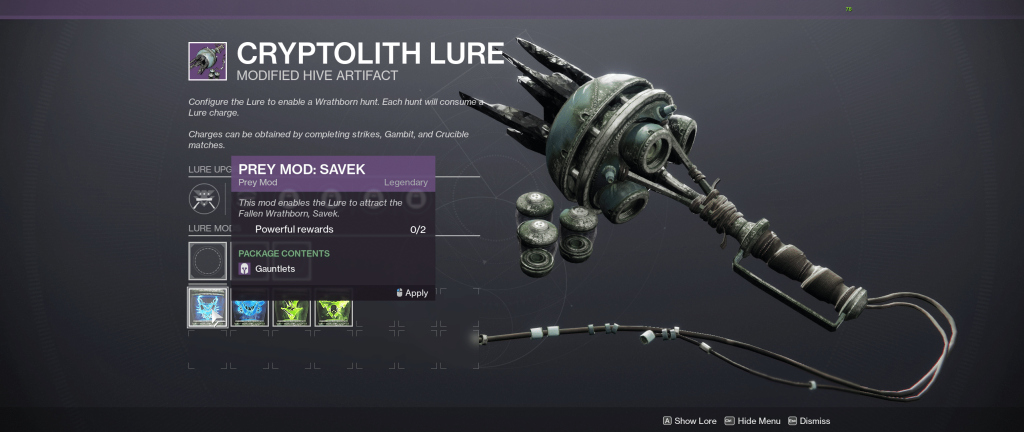
Once you’ve done this, you will obtain a new quest step to place the Lure, currently there are 2 destinations that you can place your Lure on: The Tangled Shore and The Dreaming City. You must place the Lure on the correct destination in order to start the Wrathborn Hunt.
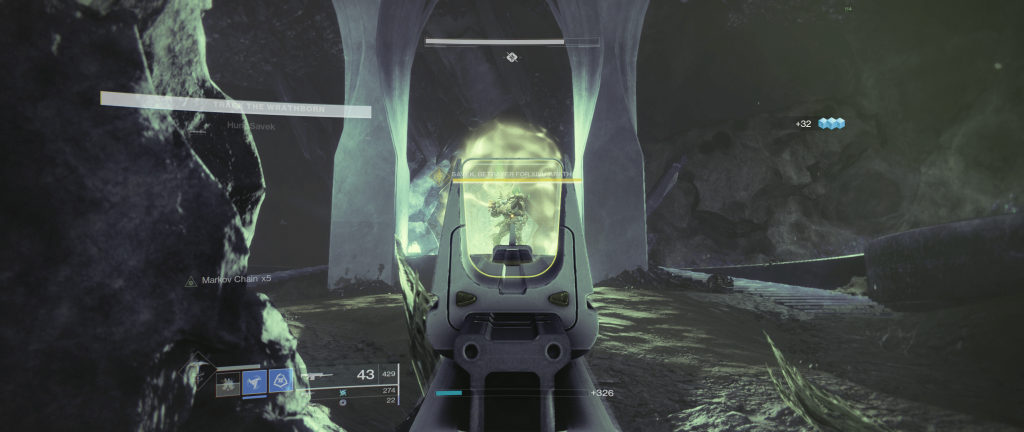
Above is the Cryptolith for the Wrathborn Savek. Place your Lure and wait for the Wrathborn to spawn.
Once the Wrathborn spawns, you will have some time to deal damage to it, once you deal enough damage it will disappear, leaving an aura behind, approach the aura and begin tracking the Wrathborn.
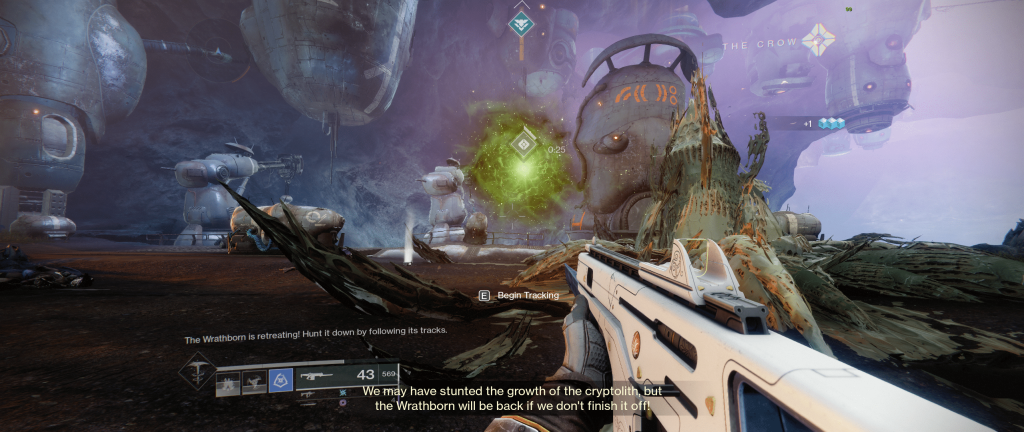
Once you begin tracking the Wrathborn, you will see a path illuminating your way to its location.
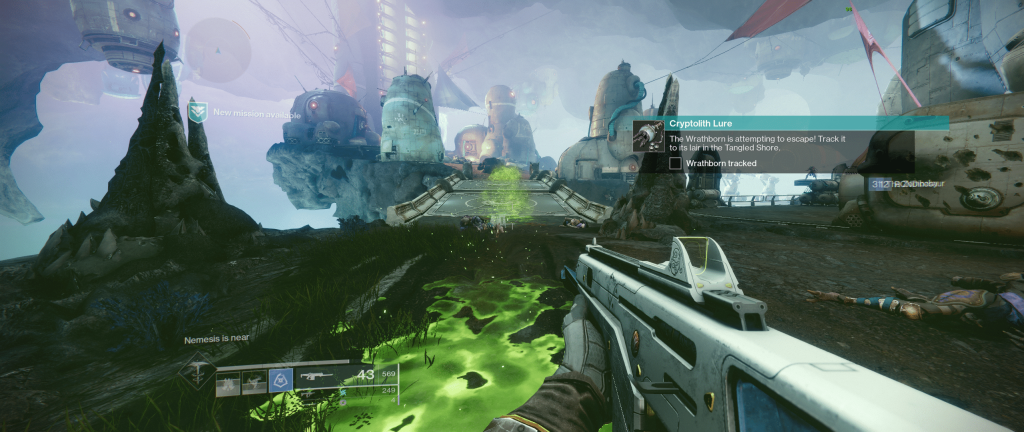
After following the path, you will see another interactable. Interacting with it will trigger the final Wrathborn Hunt.
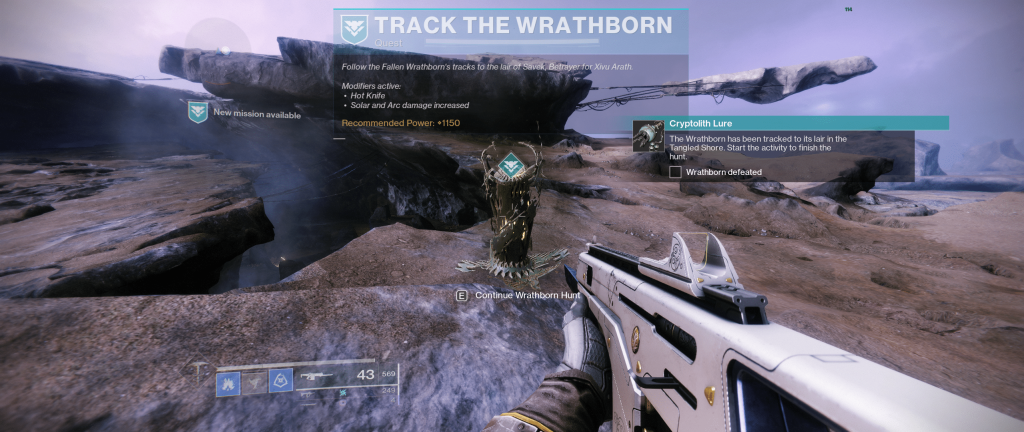
Loading into the Wrathborn Hunt will load you into a private instance of the game, so your screen will cut to black for a short time (don’t worry, you’re probably not getting disconnected), then you will load in front of a passage. Shoot the Hive (uh…gunk?) to progress through and make your way to the next Cryptolith.

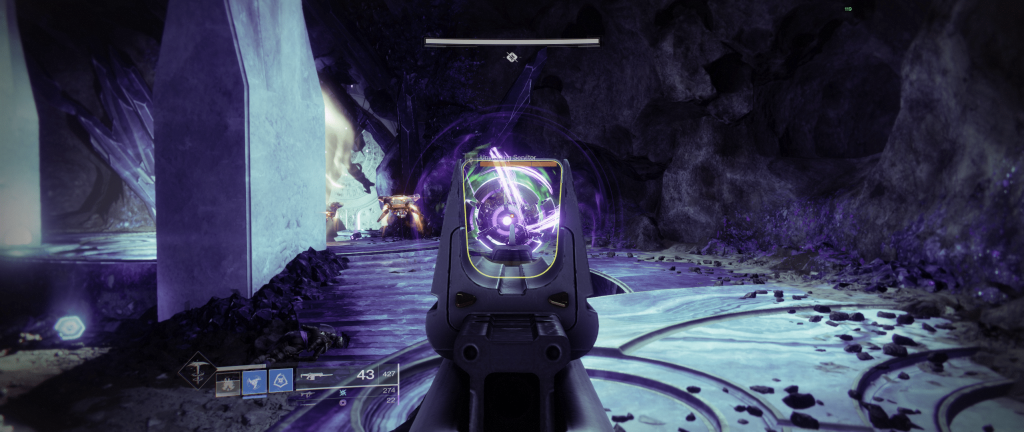
As before, walk up to the Cryptolith and place your Lure. The Wrathborn you almost killed before will appear, now you can actually kill it.
Killing the Wrathborn will spawn in the Wrathborn boss that you are actually tracking (in the case above, Savek). You will see it is immune and you are unable to damage the boss until it spawns in some smaller yellow bar enemies.
Kill the yellow bars (in this case a Servitor) and it will drop a “buff pool.” This pool grants whoever is standing inside the “Wrathful” buff which increases your damage dealt against Wrathborn enemies. Killing the Wrathborn boss with the buff is actually really easy, and once you’ve killed the boss you will receive your rewards and your Lure will need to be recharged.
Related: Destiny 2: How to Obtain Seasonal Exotic Shotgun “Duality”
And that’s about it! It’s a bit of a chore charging the Lure itself, but once you actually are able to get in and complete the Wrathborn Hunt, it’s pretty fun (and not a public event)! The rewards are really nice and ranking up with The Crow also enables the weekly Wrathborn challenge to reward a piece of Pinnacle gear rather than Powerful.
Like what you see? Don’t forget to share our work with the buttons below! Also, be sure to follow @GamezoGG on Twitter and check out our YouTube Channel for more great content from the Gamezo Team!