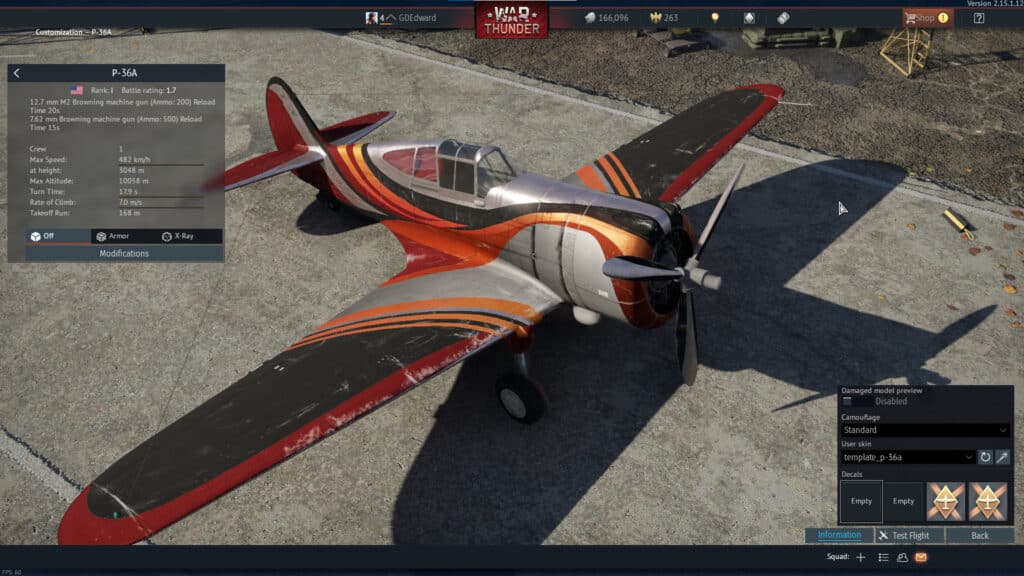
A stock paint for your plane is definitely not the most attractive one. The good news is, that War Thunder supports custom/community-made skins that you can download and install in your client. A cool camouflage may not make your plane faster but it sure will make you feel faster. Just like this skin for P36A that we will use as an example of how to install custom skins in War Thunder.
Do not forget that custom skins are not visible to other players. They are downloaded locally and are visible only to you and if you decide to reinstall the game or play it on another device, you should create a backup of your skins on a USB-Drive or cloud for easy installation. There are other skins in War Thunder that can be bought on the marketplace for real currency, those are going to be visible to everyone online.
Choosing and Downloading a Skin

First of all, you will need to download a camouflage. You can create one yourself if you have the required skills and dedication for it. But for an easy solution head to live.warthunder.com and select the “Camouflages” tab.
Here you will find tons of community-made skins for all sorts of War Thunder vehicles. To find what you want type in the model in the search bar. The search is based on hashtags so there are no spaces allowed. Pressing space will start another hashtag to narrow your search. You can type in hashtags like #arknights or #historical for different styles.
Be aware that since there is no unified hashtag system, they can vary from post to post depending on what the author entered. Make sure to check different ways to write your hashtags, like #P36A, #P_36A, and #P36_A. Once you get more familiar with the kinds of hashtags on the website, it will be much easier to navigate through.
Installing a Custom War Thunder Skin

Once you found what you like download the .zip file of the camouflage. To open a .zip file you will need software like WinRAR or 7Zip, but most likely you already have it. Open the .zip archive and extract the folder within your Desktop.
To install a custom War Thunder skin follow these steps:
- In War Thunder right-click on your vehicle and click “Customization”
- In the bottom-right menu click on the magic wand in the “User Skin” section
- Open your War Thunder UserSkin folder: C:\Program Files (x86)\Gajin\War Thunder\UserSkins (Launcher) or C:\Program Files (x86)\Steam\steamapps\common\War Thunder\UserSkins (Steam)
- Open a folder named template_*your plane model here* (you can rename the folder later to change the skin’s name)
- Copy and paste the contents from the downloaded folder there replacing all the files
- In War Thunder switch the UserSkin from default to the one you just installed (press “Refresh” on the right if the skin didn’t appear)
Now your skin is ready! If you want to install custom skins on other War Thunder vehicles, follow the same steps. In case your skin doesn’t work, make sure to check if you pasted and replaced all the necessary files and refer to the post you downloaded the skin from. There could be other community members having the same issue.

