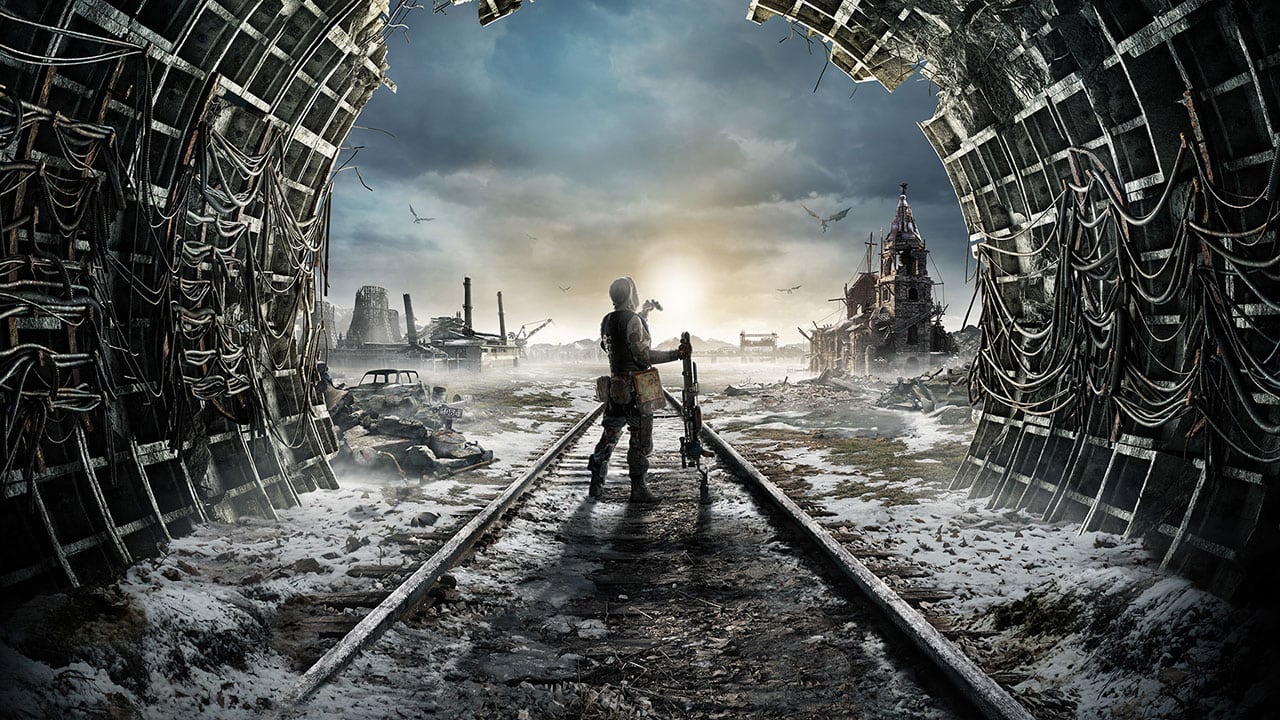
The FPS title from 4A Games has a vast collectibles catalog throughout its narrative. There are 105 collectible locations scattered within the ten chapters of the game, made up of 71 Diary Pages, 21 Postcards and various Artyom Suit Upgrades. The game offers a collectible tracker in every chapter, but in case you miss any, this guide will show you every collectibles location in Metro Exodus for 100% completion.
Moscow

- 10 Diary Pages
- 2 Postcards
Diary Page 1 – Half-Torn Notebook
After you defeat your first enemy of the level, the Half-Torn Notebook can be found on the right-hand side of a candle-lit desk within an alcove.
Diary Page 2 – Patient File
After being attacked by the Watchmen, you’ll be rescued and taken to a clinic. After a cutscene, you will awaken to use the Artyom. The diary page Patient File can be found on the desk to your right.
Diary Page 3 – Dusty Diary
Within the same apartment, you will find a bedroom with a couch and a nightstand next to it. The Dusty Diary is on the nightstand.
Diary Page 4 – Shopping List
When you go with Anna to the shopping center, you will be attacked by Watchmen. Once the conflict ends, look for a body propping open a door on the left side of the area. This corpse will have the Shopping List.
Diary Page 5 – Shura’s Note
Take the escalator down to a crashed blue bus in the lobby of the shopping center. Shura’s Note will be next to a skeleton on the bus.
Diary Page 6 – Crumpled Letter
Once you cross the bridge with Anna, wait for the cutscene to pass after you get captured. You will awaken in a pit and you will have to crawl forward under some logs. The Crumpled Letter will be with a corpse in the snow.
Diary Page 7 – Official Note
During your fight in the military base, a computer station will be shot. Locate this machine after the conflict to obtain the Official Note.
Diary Page 8 – Memo
Once you go across the courtyard you will find a red door. Pass into the hangar to find a furnace and a desk. The Memo is on the desk.
Diary Page 9 – Official Letter
After rescuing Yermak, you will board a train and then another. On the second train, down the enemy at the window and pass into the car. Keep left and you’ll find a desk with the Official Letter.
Diary Page 10 – Crumpled Note
The last Diary Page of this chapter will be in the train car behind the machine gun. The Crumbled Note will be to the right of the entrance on a pile of crates.
Postcard 1
Before progressing through the green door to talk to Anna and Colonel, you will find the first postcard on a green locker to your right.
Postcard 2
Once you are outside with Anna, you will go through an abandoned apartment. Go down the first set of stairs to see a hallway and open door. Go through the door to the kitchen and the postcard will be by the window.
Winter

- 1 Diary Page
Diary Page 1 – Survey Report
After Anna finishes speaking with Alyosha, head down the stairs and you will find the Survey Report on a crate.
The Volga

- 13 Diary Pages
- 5 Postcards
- 8 Suit Upgrades
Diary Page 1 – Mouldy Log
Locate the abandoned boat on an island north of Aurora. You will find a body on a mattress with the Mouldy Log.
Diary Page 2
After Anna gets trapped, head right from the entrance and turn right again to reach a locked cell. Break the lock and the diary will be near the bed.
Diary Page 3 – Faded Note
When you’re inside the Krest mansion, locate the south side of the house and head inside the basement. A Faded Note sits on the shelf.
Diary Page 4 – Folded Letter
At the bandit camp, the Folded Letter diary will be by the caged prisoners.
Diary Page 5 – Sturdy Envelope
Next to the ‘5’ marker, the Sturdy Envelope will be inside an abandoned vehicle.
Diary Page 6 – Weathered Notice
You will find the Weathered Notice inside the front room of the Gas Station on the shelf.
Diary Page 7
Head to the wooden sniper location at the top of the warehouse, where the diary page can be found.
Diary Page 8 – Bandit’s Note
Travel to the island marked ‘8’ and the Bandit’s Note will be on a nearby bandit corpse.
Diary Page 9
Locate the railcar safe house east of the bridge. You will find a diary page inside the house.
Diary Page 10 – Tick Ledger
You will find the Thick Ledger in the room with the Catfish levers.
Diary Page 11 – Dusty Workbook
Locate a shipping container next to the water to find the Dust Workbook on the table.
Diary Page 12 – Blood-Stained Diary
Close to the ’12’ marker, you can find the Blood-Stained Diary inside a shed on the shelf of a bookcase.
Diary Page 13 – Patient Ledger
Take a boat out to the abandoned clinic on the island. Inside the clinic, you will find a room with a person hanging in it. The Patient’s Ledger will be on the desk.
Postcard 1
By undertaking your first cult mission, you will find the postcard in the cult’s base. Pass through the kitchen and take the ladder to the bunk room. On the right, you will see the postcard on the wall.
Postcard 2
Get to the safe house at the top of the Krest crane. Next to the back door, you will find the postcard.
Postcard 3
See Diary Page 9
Postcard 4
Before dealing with the passenger train, enter the safe house and take the postcard on the wall.
Postcard 5
During the final mission in The Volga, locate a set of ascending stairs on your left while tasked with lowering the bridge. Travel forward to the alcove on the right of the stairs and the postcard is on the wall.
Suit Upgrade 1 – Compass
Go north of Aurora to locate the crashed plane. The Compass can be found in the cockpit.
Suit Upgrade 2 – Extended Filler
On the coast, find the closed shipping container. Locate the door and go inside to find the Extended Filler upgrade on the desk.
Suit Upgrade 3 – Ammo Pouches
Enter the Bandit Camp via the west entrance and turn right. The Ammo Pouches will be sitting on some crates.
Suit Upgrade 4 – Throwing Weapon Harness
The Throwing Weapon Harness upgrade can be found inside the gas station.
Suit Upgrade 5 – Night Vision
Free the prisoners in The Lair’s Bandit Camp to gain a key. Use the key to open the first locked door in the camp to find the Night Vision upgrade.
Suit Upgrade 6 – Metal Detector
Find the shack located on the coast near the railyard and the Metal Detector upgrade will be on the desk with the clocks.
Suit Upgrade 7 – Reinforced Helmet
Locate the bandit camp north of the Bandit Depot and go inside the ruined building. Find the room that is still upright to obtain the Reinforced Helmet upgrade.
Suit Upgrade 8 – Battery Charge Controller
Travel to the inhabited island where you will need to solve a puzzle within a shed on the southwest corner. Use the jerry can under the window to turn on the generator, hit the switch on the left side, and go through the door. The first room will lead to a ramp taking you to the roof. Drop through the hole in the roof and charge the breaker panel. Go back to the first room with the switches and hit the right switch. Open the door to find the Battery Charge Controller upgrade.
Spring

- 1 Diary Page
Diary Page 1 – Nastya’s Letter
On the passenger train, head right of the sleeper car to find a pair of bunk beds right of the hallway. Nastya’s Letter will be on the table.
Yamantau
- 6 Diary Pages
- 2 Postcards
Diary Page 1
After the cannibal cutscene, take the elevator to the floor given to you by Miller. Go through the metal detector and the diary will be on the desk to your left.
Diary Page 2
Pass through the kitchen and morgue to locate some shelves that you have to squeeze through. After the shelves, turn right and flick the light switch on. The diary page will be sitting on the water container.
Diary Page 3
After entering the hallway with red lights after the duct, turn right at the end and climb over some boxes. The diary page will be next to a candle-lit crate.
Diary Page 4 – Officier’s Diary #1
Eradicate the minigun operator and clear the room. Enter the room with an orange skull next to the door and you will find the Officer’s Diary on a body to your left.
Diary Page 5 – Officer’s Diary #2
In the room with Anna, walk through the double doors to the elevator at the end. The second Officer’s Diary will be on the barrel beside the elevator.
Diary Page 6 – Officer’s Diary #3
Follow the crew out of the control room towards the elevator. The third officer’s diary will be on a crate next to some jerry cans.
Postcard 1
Follow the steps for Diary Page 2. The postcard will be on the wall in front of you.
Postcard 2
After rescuing Anna, a postcard can be found on the wall to the left of the double doors.
The Caspian
- 12 Diary Pages
- 5 Postcards
- 5 Suit Upgrades
Diary Page 1: First Mate’s Diary
Travel to the slave ship next to the lighthouse and go inside. Head upstairs and navigate right to find the First Mate’s diary on the table.
Diary Page 2: Leader’s Letter
Take the ladder within the slave ship at the end of the hall, kill the thugs a take the stairs up. Take the ladder next to the table with radios on it and the Leader’s Letter will be on the table.
Diary Page 3: Letter to Son
Take the cave towards the lighthouse and kill the thugs to obtain the Letter to Son by the corpse against the wall.
Diary Page 4: Memo
After following Giul into the bunker, drop down through a hole in the floor. Walk forward in the office you dropped into, move towards the double doors and hang left. The Memo will be in the first cubicle.
Diary Page 5: Image Analysis
Crouch through the door that Damir says is locked in the bunker and the Image Analysis diary will be in the room.
Diary Page 6: Last Order
Head towards the doorway with the green light above it in the map room. You will find the Last Order diary on a table surrounded by skeletons.
Diary Page 7: Diary Fragments
In transit from the bunker to Aurora, complete the question mark and navigate to the Hermit on the boat marked ‘7’. You will find the Diary Fragments in the Hermit’s room.
Diary Page 8: Baron’s Letter
Head towards the ‘8’ marker whilst traveling to the Oasis. Baron’s Letter will be beside the truck outside the entrance.
Diary Page 9: Death Note
Navigate inside the area where the truck is and find the rope ladder. Climb up and the Death Note will be on the barrel in front.
Diary Page 10: Letter to the Artist
Follow Damir and slide to the path below. Take a left up the ramp and walk to the lookout. The Letter to the Artist will be on a crate.
Diary Page 11: Shopping List
Locate the tanker on the coast near the bandit camp. Find the control room of the tanker and the Shopping List will be in there.
Diary Page 12: Charred Note
Navigate to the bandit camp south of the tanker and locate the ladder south of the fire. Climb up the ladder and the Charred Note can be found on a crate.
Postcard 1
Take the Artyom, exit the train and head south towards an abandoned building. Beside the entrance, you will find the first postcard.
Postcard 2
Use the elevator to visit Giul in the lighthouse. The postcard will be on the doorframe at the top of the lighthouse.
Postcard 3
Locate the rusted boat cabin in the Oasis. A Postcard can be found inside.
Postcard 4
Follow the location of Diary Page 11.
Postcard 5
Enter the last hangar of the airport and kill the ghouls. A postcard can be found on a pile of crates on the back wall.
Armor Upgrade 1: Motion Scanner
Head to the slave ship in the northwest. Take the ladders up to the main deck and enter the room at the top of the second ladder. The Motion Scanner is on the table to your right.
Armor Upgrade 2: Extra Bright Flashlight
Visit the marooned boat southwest of the lighthouse. The Flashlight will be inside the cabin on top of a crate.
Armor Upgrade 3: Armored Glass
Follow steps for Diary Page 9
Armor Upgrade 4: NVD Amplifier
Visit the ATC tower at the airport, where you will find the Amplifier.
Armor Upgrade 5: Consumables Carrier
Navigate to the cliffside next to the caved oil refinery. Follow the path going down until you stop at the cave. The Consumables Carrier will be inside the cave.
Summer

- 1 Diary Page
Diary Page 1: Tokarev’s Note
After the cutscene with Anna, head to the back of the train to the last car. Tokarev’s Note can be found on a workbench.
The Taiga
- 18 Diary Pages
- 5 Postcards
Diary Page 1
There is a note sticking out of a bolt on the fence ahead of the starter building.
Diary Page 2: Unsent Letter
Take the road towards the manor and walk towards the statue. Visit the school to the right of the statue and the Unsent Letter will be on the first desk.
Diary Page 3: Little Kid’s Note
Once you cross the pirate bridge, take a right and enter the house opposite two statues of children. Visit the room to the right with a teddy bear on the table and the note will be next to it.
Diary Page 4: Solemn Oath
Visit the water tower close to the aforementioned house and go to the top to find the Solemn Oath.
Diary Page 5: Dusty Diary
Use the water tower zip line to arrive at the bridge and travel the road until you come across a wooden tower. The Dusty Diary will be on a crate.
Diary Page 6: Alchemist Log
Visit the treehouse and use the zip line to cross the water. Go up the hill and go inside the hut to find the Alchemist’s Log.
Diary Page 7: Lost Diary
Go back to the path and visit the fishing hut in the north. Go inside the hut on your right and the Lost Diary will be on a crate.
Diary Page 8: Dusty Notebook
Go back to the road and locate the cave on the cliff face. The cave will house a shack with the Dusty Notebook in it.
Diary Page 9: Calligraphic Note
After being captured, you will kill some pirates in a tower. To the left will be a farm and the house has a blue barrel outside with the note on it.
Diary Page 10: Scribbled Note
Visit the ground-level building at the bandit camp and the note will be inside.
Diary Page 11: Worn-Out Letter
Take the zip line from the bandit camp to the river and walk alongside it until you find an opening in the wall. The letter will be inside on a crate.
Diary Page 12: Crumpled Note
Go further into the cave to find a corpse with the Crumpled Letter.
Diary Page 13: Dirty Diary
Travel through the bandit camp to the east gate and turn right when you walk down the road. Follow this path to find a tent with a dead body on a table. The diary will be next to it.
Diary Page 14: Hunter’s Diary
Use the marker to reach the cemetery and a corpse will have the diary in front of the gate.
Diary Page 15: Weathered Note
Locate the boat at the bottom of a path leading from the cemetery. As you travel down the path you will see a gazebo that has the note inside.
Diary Page 16: Folded Note
Find the boat at the other end of the bandit camp and go through the door with two oars on it. The Folded Note will be on the desk in the first room.
Diary Page 17: Blood-Soaked Letter
Locate the red door in the Dam and the letter will be on the corpse in front of you.
Diary Page 18: Unfinished Letter
After meeting Alyosha at the Dam, head down to the street and visit house number 34. The letter can be found on the table.
Postcard 1
At the beginning of the level, visit the old shack on the right and find the room at the back. The first postcard is on the bookshelf.
Postcard 2
Pass by the school and statue until you reach the pirate bridge. Hang left to descend and find the hollowed-out tree next to the police station. Visit the library area of the police station and the postcard is on the bookshelf.
Postcard 3
Find the bandit camp on the other side of the cave and visit the house on top of a hill on the west side of the camp. You will find the third postcard in that house.
Postcard 4
Upon reaching the island in your stolen boat, locate the shed on the west side. Activate the generator and enter the mill. Make sure the elevator is powered up before taking it to the roof, where you’ll find the postcard in the Admiral’s room.
Postcard 5
This Postcard is located in the same place as Diary Page 18.
Autumn
- 1 Diary Page
Diary Page 1: Katya’s Note
After gaining the Artyom, pass by your room and locate the area with the armor. Katya’s Note will be on the workbench.
The Dead City

- 8 Diary Pages
- 2 Postcards
Diary Page 1: Radiogram Transcript
Locate the room with hanging cages in the sewers and the transcript will be on the desk.
Diary Page 2: Weathered Report
Travel with Miller on the Metro until you reach the control room. The report is on the desk.
Diary Page 3: Orders
After chasing the child and meeting the commanding officer, you will reach Kirill’s safe house and the page is on the board in front of you.
Diary Page 4: Notebook
Take the stairs from the safe house and walk down the corridor towards the train. You will find the notebook on the train seat to your right.
Diary Page 5: Worn-Out Diary
Take the rowboat to the first dock and enter the room. You will find a door you will need to squeeze through and climb on the toppled lockers to get to the next room. The diary will be on the desk.
Diary Page 6: Browned Note
Follow Anna up the escalators and go right. Go through the green door and the note is on the desk.
Diary Page 7: Dusty Notebook
Locate a tank in the snow and go down the hole next to it. Turn left and walk until you reach a dead-end and the notebook will be on a corpse.
Diary Page 8: Shopping List
After avoiding the Blind Ones, go further into the hospital until you can drop down to another building. Go forward and on the right side of the room, you will see a door propped open by a corpse. Pass through the door and drop down onto the stairs below. The list will be behind the blue door.
Postcard 1
Follow the mutant tunnel on the Metro and the first postcard is on a locker in the first room.
Postcard 2
In Kirill’s safe house, the postcard is on the stone pillar beside the sniper rifle.