In a recent software update, Nintendo now gives players the ability to send Switch screenshots directly to their smartphone. Here’s everything you need to know about how to do it!
Updating Your System
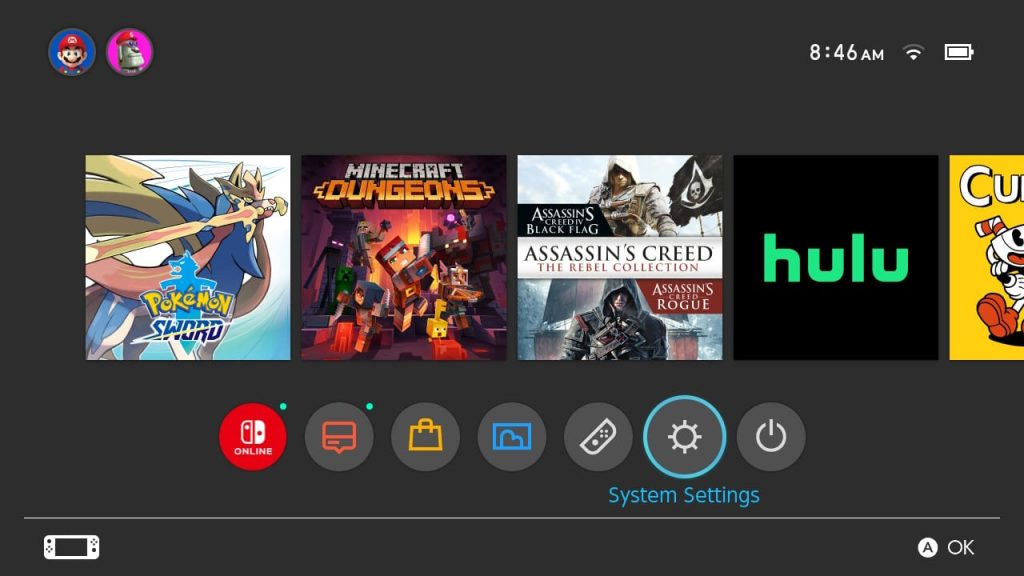
In order to send your Switch screenshots to your smartphone, you’re going to want to make sure you’ve installed the latest Nintendo Switch software update, to do this just go to the settings wheel at the bottom of the Switch home screen.
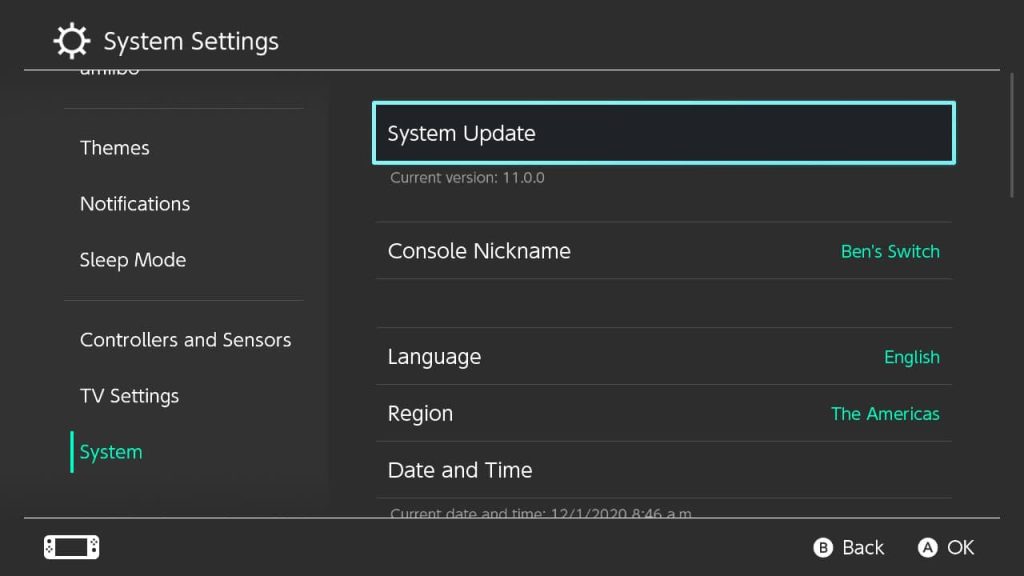
Scroll down to System and click System Update
Then, it’s going to say “Preparing to update system…”

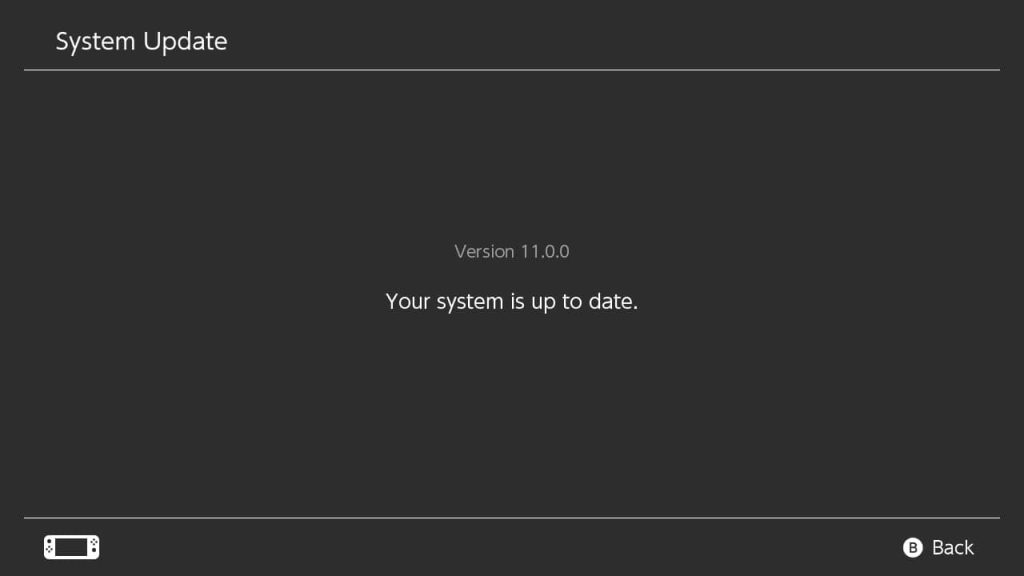
If your Nintendo Switch is not up to date, it will perform a system update and your system will restart. If your Nintendo Switch is up to date, you will see this screen:
Now you’re ready to start sending Switch screenshots to your smartphone!
Sending Switch Screenshots
Sending Switch screenshots to your smartphone is actually quite easy, all you have to do is navigate to your Photo Album on the bottom of the Switch home screen and open up your screenshot library. I would show you what it looks like, but unfortunately it isn’t possible to take screenshots while the Photo Album is open.
RELATED: Nintendo Switch Lite Refurbished is Now Available From Nintendo
Once you’ve found the photo (or batch of photos) you’d like to send to your smartphone, simply click on the photo and press “A” for Sharing and Editing. You will see an option to “Send to Smartphone.” Click this option and select whether you want “Only this one” which will send only that single photo to your smartphone, or you can “Send a Batch.”
By choosing “Send a Batch” you can select multiple Switch screenshots you’d like to send to your smartphone. You will then be prompted to scan a QR code using the camera on your smartphone or other smart device to connect your device to the Nintendo Switch console.
Once connected, you will be asked yet again to scan another QR code (I know, it’s annoying, but I promise it’s really painless after this). Doing this will prompt you to open a browser on your smartphone. On iOS it should look something like this (using the default Safari):

Tap and hold the image to save your screenshot

Tap “Add to Photos” to save the image directly to your photos library on iOS! See? That wasn’t so bad was it? You can transfer up to 10 photos at a time and you can also connect a USB cable to your Switch and a PC to transfer screenshots and videos!
The new software update also sticks a pretty annoying “Nintendo Switch Online” button on the front end of the home bar, which seems pretty much to just be an advertisement for NSO, but I don’t really mind it.
Yeah it’s another thing taking up space, but it’s not really like you spend most of your time on the home screen looking at the home bar anyway, so to me it’s not really that big of a deal.
Well there you have it folks, everything you need to know about how to send your Nintendo Switch screenshots directly to your smartphone or smart device! Link me your screenshots in the comments below!
Like what you see? Don’t forget to share our work with the buttons below! Also, be sure to follow @GamezoGG on Twitter and check out our YouTube Channel for more great content from the Gamezo Team!